Latest news
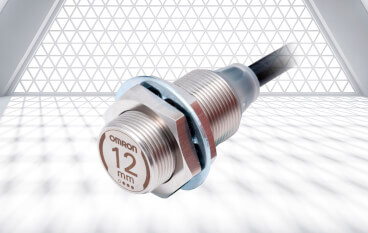
Reliable detection for iron and aluminum with new E2EW Series metal face proximity sensors
01 July, 2020 We have announced the release of the E2EW Series metal face proximity sensors that are designed to minimize downtime thanks to their durable construction and exceptionally long sensing range.
Disinfection solution with UV-equipped mobile robots
17 June, 2020 OMRON joins forces with partners to provide a new disinfection solution with UV-equipped mobile robots.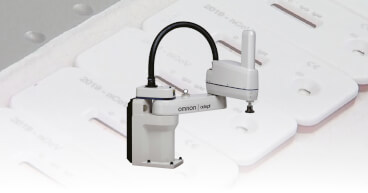
Robots speed up the production of Covid-19 tests
08 June, 2020 Medtech company Senova relies on OMRON’s smart robotics in the production of rapid antibody tests that show immunity within a few minutes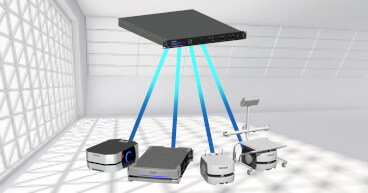
OMRON Fleet Simulator offers the industry’s first mobile robot simulator for factory and manufacturing applications
27 May, 2020 Omron offers a new solution for optimizing an entire fleet before deploying.
Technical Support
01 May, 2020 Many of our local offices are currently closed and staff are working remotely. Our support staff however continues working as normal from their homes. We would like to stress that we are very much still open for business and whilst response times in certain areas may be a little slower than normal we will endeavor to maintain the same high level of service you have come to expect from Omron, albeit provided in a different way.
Delivery information
01 May, 2020 We are committed to maintaining business continuity towards our customers, suppliers and partners to manage these challenging times and get through this global crisis.
A message from our CEO Seigo Kinugawa to customers and partners
28 April, 2020 These are very challenging times as the world responds to the coronavirus outbreak. Like you, I am watching the rising numbers of infections with concern and have great admiration for all those who are in the front lines combating the effects of the virus, our hearts and thoughts go out to the people who have been affected by the unprecedented events we see unfolding around us.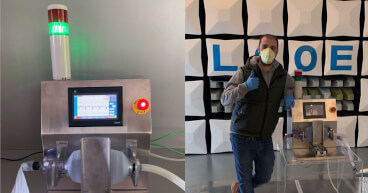
TheOpenVentilator: mass production of ventilators to start after successful clinical trials in Spain
22 April, 2020 OMRON has contributed, with the non-profit association TheOpenVentilator, to the development of an emergency ventilator for compassionate-use, built with quality equipment and industrial reliability, to help patients requiring mechanical ventilation due to COVID-19.
-

New MicroHAWK V/F400 and V/F300 Series Smart Cameras
Omron Industrial Automation recently launched the new V/F400 and V/F300 Series Smart Cameras, the latest additions to its popular MicroHAWK line. A new solution available for manufacturers who are concerned that their product inspections are becoming too complex. The powerful yet compact MicroHAWK V/F400 and V/F300 Series Smart Cameras simplify applications by combining code reading and vision inspection into a single, highly compact device. By bundling multiple capabilities in one, the V/F400 and V/F300 Series lower hardware costs and minimize the work required for commissioning and maintenance.
01:09
New MicroHAWK V- and F-Series Smart Cameras simplify code reading and inspection with ultra-small footprints
20 April, 2020 The V/F400 and V/F300 Series Smart Cameras are the latest additions to OMRON’s popular MicroHAWK line that offers both code reading and vision inspection capabilities.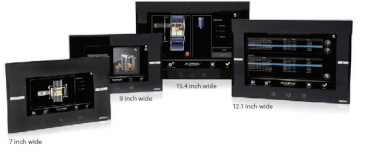
Omron’s NA Series offer new models and functionalities
20 April, 2020 The new NA Series are the next generation of Machine Interface, a range of options and models that covers every need.
Statement from OMRON on the coronavirus (COVID-19) outbreak
07 April, 2020 We are closely following the development of the coronavirus outbreak in the EMEA region. While we adhere to the guidance from relevant authorities and the WHO, the safety and well-being of all our employees and relations is our highest priority.